October 28, 2026
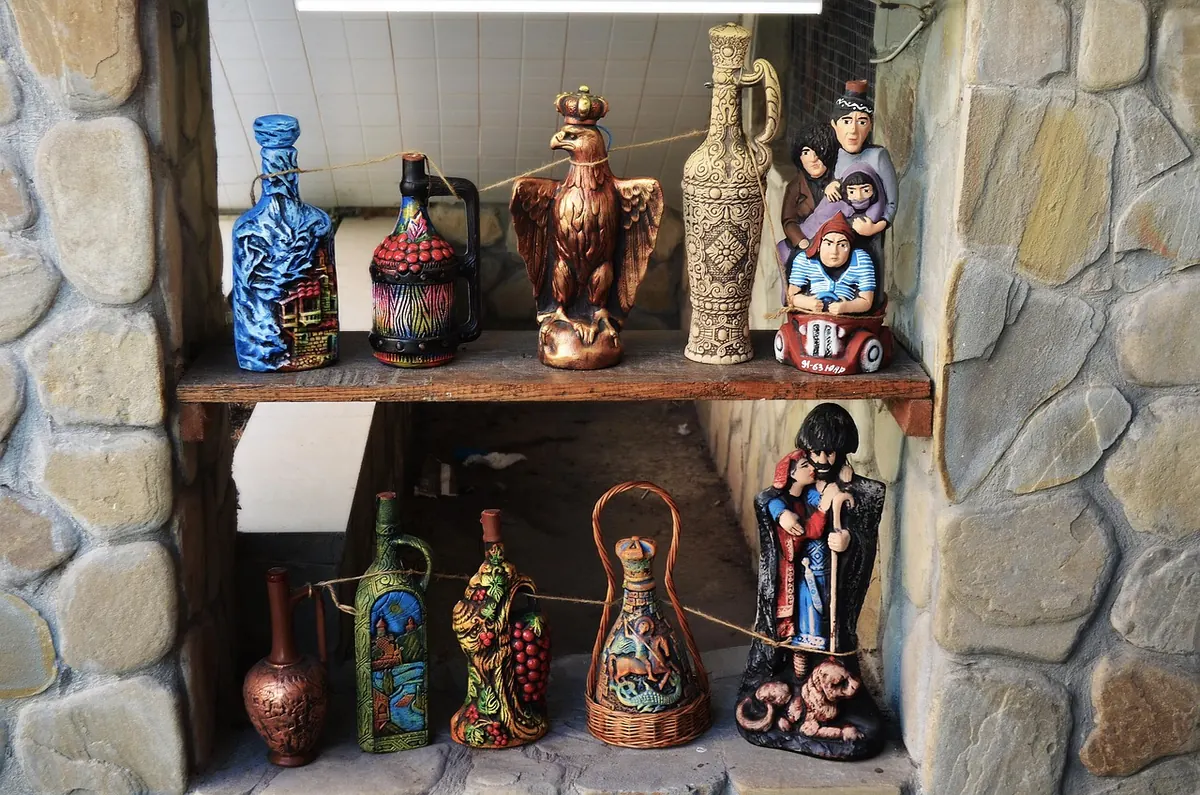
You bought a bowl from a potter at a weekend market, a woven basket from a village co-op, and a small painting that caught your eye in a gallery window. Now they are on the dining table, still wrapped, and the room feels one purchase away from a jumble sale. A home display of local crafts does not need a dedicated gallery wall or a designer shelf. It needs a little planning, a few protective habits, and the discipline to stop before every surface is filled. Think of the display as a slow composition: a place where pieces can be seen, used, and kept safe.
Begin with the Room, Not the Collection
Start by looking at the room as it is. Where do you actually pause? A narrow console in a hallway, a shelf beside a window, a recessed niche, or the top of a low bookcase can all work. Choose one primary display zone and, if you have the space, one secondary zone. A primary zone is where the eye lands when you enter; the secondary zone can hold smaller pieces or a rotating selection.
Keep the display away from the busiest paths. A ceramic bowl on a hall table that gets brushed by coats every morning will eventually end up chipped or on the floor. If you want to use the crafts, put the mugs and serving bowls near the kitchen or dining table, and reserve the more fragile pieces for quieter spots. A display that fights daily life will lose.
Measure, Map, and Test Before You Commit
Before you hammer a nail or buy a shelf, measure the space and the objects. Check the depth of the shelf against the widest piece, the height of the niche against the tallest vase, and the clearance around doors and drawers. A deep platter on a shallow ledge is an accident waiting to happen.
Use painter’s tape to outline the shelf or frame on the wall, then cut paper templates for plates, platters, and wide baskets. Hold them up and step back. This sounds fussy, but it is faster than filling holes you did not need. For wall pieces, test the height from the doorway and from the sofa. For heavy pieces, find the studs or use anchors rated for the weight. If a piece is top-heavy, place it lower or give it a weighted base.
Group by Material, Scale, and Story
Grouping by material helps the eye settle. Ceramics together, textiles together, wood and basketry together. But do not turn the room into a museum of categories. Mix scale instead: one tall piece, one low bowl, one textured object. A trio of similar small bowls can look like a set; a trio of unrelated small objects can look like leftovers.
Story matters too. A group of pieces from one trip, one maker, or one region reads as intentional. If you have a single strong piece, give it space and let it be the anchor. Leave at least a hand’s width between objects on a shelf. On a wall, keep the gaps generous enough that each piece has its own air. The goal is not to show everything at once. It is to show enough that the rest of the collection has somewhere to go.
Choose Supports That Protect the Craft
Most damage happens at contact points: a rough shelf edge under a glazed foot, a metal stand scratching a plate, a basket pressing into a painted wall. Good supports are invisible when they work and merciful when something slips.
- Use felt pads under ceramics, metal, and stone pieces, especially on painted or lacquered shelves.
- Use museum putty or clear quake wax for small ceramics and glass on open shelves; it holds light pieces steady without showing.
- Choose plate stands with a wide base and felted arms, and check that the plate rests on the stand rather than leaning on one point.
- For narrow ledges, use a shallow tray with a low lip to keep small pieces from rolling.
- Hang wall pieces from two points where possible, and use anchors rated for the weight; a single nail is for light, flat things only.
- Store textiles not on display in acid-free tissue or clean cotton bags, folded loosely to avoid sharp creases.
Light, Dust, and the Reality of Daily Life
Sun is the quiet enemy of many crafts. Textiles fade, wood can bleach, and some glazes and paints shift over time. Keep the most sensitive pieces out of direct sun, or use a UV-filtering film on the window and draw curtains during the brightest hours. Rotate pieces away from the window every few months so no single side takes all the light.
Dust with a soft brush or microfiber cloth. Avoid spraying cleaner directly onto unsealed wood, porous ceramics, or textiles; spray onto the cloth first, and use dry methods for baskets and woven pieces. A soft brush is better than a wet rag for dust in crevices. Keep wood and basketry away from radiators and steamy bathrooms, where humidity swings can warp or crack them. And keep clear glass or rounded glass pieces off sunny windowsills; a curved glass object can concentrate light in a way that is best avoided.
Edit and Rotate So the Display Breathes
Clutter is not about the number of objects. It is about unresolved relationships: too many pieces competing for the same height, color, or story. Once the display is set, live with it for a week. You will notice what your eye keeps skipping and what you keep straightening.
Rotate pieces every few months. Store the rest clean and dry, and keep a “resting box” for things that need a break. Before you place anything new, run through this short checklist:
- Clear the surface completely and dust it.
- Place the largest or strongest anchor piece first.
- Add one supporting piece at a time, stepping back after each one.
- Check stability with a gentle nudge; if it rocks, fix the base before going further.
- Look from the doorway, not just from arm’s length.
- Remove one item if the group feels crowded.
- Leave one empty spot for the next find.
Leave a Little Room for the Next Find
A small home display should feel alive, not finished. Leave one shelf partly open, one wall space unpressed, one bowl empty. That empty space is not wasted; it gives the eye a rest and gives you permission to bring home the next good piece without rearranging the whole room. Dust gently, rotate slowly, and keep the fragile things out of the busiest paths. The display will do the rest.
Photo: IgorKon / Pixabay