October 20, 2026
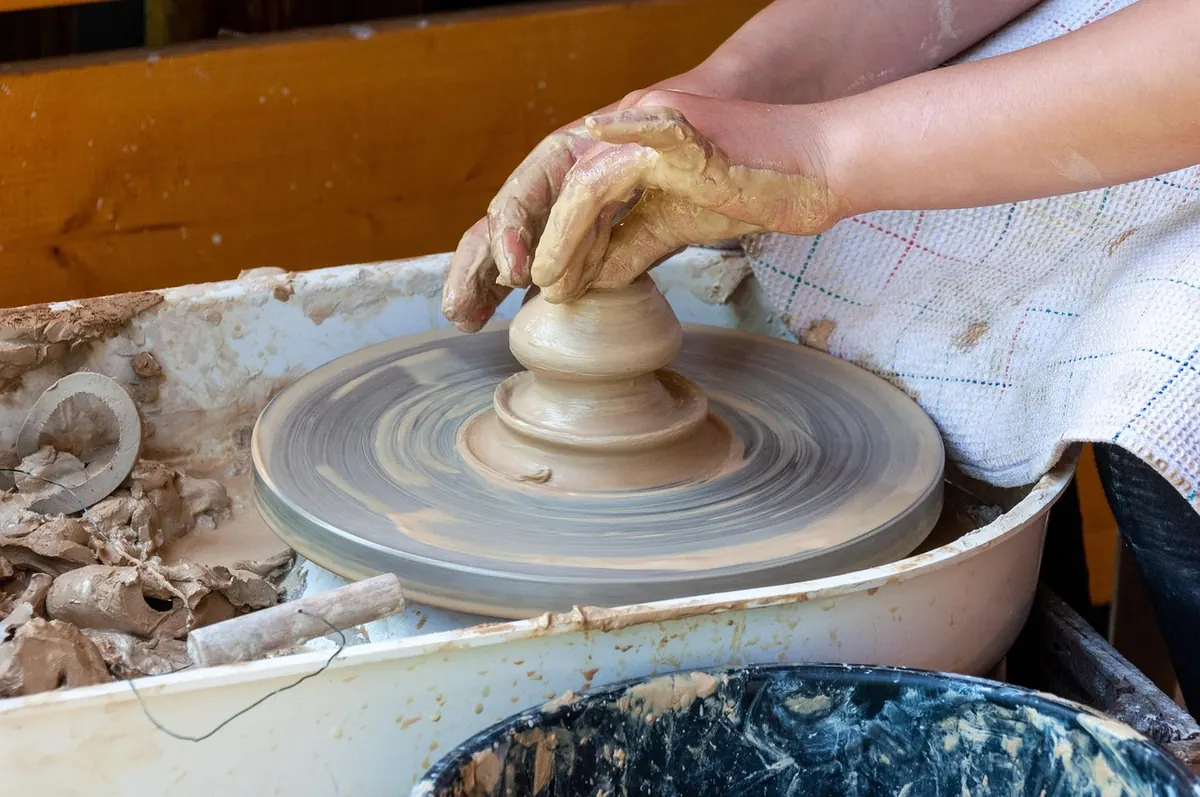
Clay has a way of making people nervous. You picture the wheel scene from a certain 1990s film, or you picture a lump of mud flying off the wheel head and landing on somebody's shoes. Then you remember that you have never touched a potter's wheel in your life, and you start to wonder whether you should book a workshop at all.
You should. Beginner pottery classes exist precisely for people who have never done this before. Nobody arrives already skilled, nobody is judged for a crooked rim, and almost everybody leaves with clay under their fingernails and a piece or two they genuinely want to keep. Here is what to expect, how to pick a session that suits you, and how to walk in feeling prepared rather than panicked.
What Actually Happens in a Beginner Pottery Class
Most introductory workshops run between two and three hours, which is long enough to learn something and short enough that your hands and back do not object. The format usually follows a rhythm: a short demonstration, a period of practice while the instructor circulates, a break to wash hands and drink something, then more time to finish what you started.
Hand-building or the wheel?
These are the two main routes and they feel quite different. Hand-building — pinching, coiling, slab work — is slower, more forgiving and easier to control. You can make a mug, a small dish or a planter in a single session without ever touching a wheel. Wheel throwing is faster and more dramatic, but it comes with a learning curve that can be steep in the first hour: centering the clay is a skill in itself, and many beginners need several attempts before a cylinder stands up straight.
If you are unsure, look for a session described as a taster or a mixed introduction. These let you try both approaches in one sitting, which is usually enough to tell you which one you want to pursue.
How much will you actually make?
Less than you think, and that is fine. A two-hour wheel class might produce two or three pieces, some of which will not survive. A hand-building session might yield one good dish and one experiment. Instructors often ask you to choose a favourite piece to be fired, because kiln space is finite and not every wobbly first attempt needs to be kept forever.
Choosing the Right Session for You
Booking is not complicated, but a few details make a real difference to how much you enjoy the day. Read the description carefully, and if anything is unclear, email the studio. Good studios answer questions gladly.
- Check the class size. Six to ten people with one instructor is comfortable. Much beyond twelve, and you may spend a lot of the session waiting for hands-on help.
- Confirm it is genuinely for beginners. Some "all levels" classes move quickly and assume you can already center clay. If you have never thrown before, an absolute-beginner session is the safer bet.
- Ask what is included. Clay, tools, aprons, firing and glazing are sometimes charged separately. A slightly higher fee that covers firing can be simpler than a cheap class with add-ons later.
- Look at the collection policy. Pieces need to dry and be fired, which can take a few weeks. If you are visiting from out of town, ask whether the studio ships, or plan to hand-build and skip the wheel.
- Think about timing. Morning sessions suit people who are fresh; evening sessions suit people coming from work. Neither is better, but tired hands make wheel work harder.
What to Wear and What to Leave at Home
Clay is not stain-resistant, and it does not discriminate between a favourite shirt and an old one. Wear something you do not mind getting dusty, and expect to leave with a fine grey film on your forearms. Short sleeves, or sleeves you can push above the elbow, are more practical than a loose knit.
- Clothing: comfortable trousers or jeans, a cotton T-shirt, and a layer in case the studio is cool.
- Footwear: closed shoes with a bit of grip. Water and clay on a tiled floor make a slippery combination, and open sandals are a poor choice near a wheel.
- Apron: many studios provide one, but a cheap cotton apron of your own is never wasted.
- Hair: tie it back if it is long. A stray strand caught in a spinning wheel is unpleasant.
- Nails: trim them short. Long nails dig into clay and make centering awkward.
- Jewellery and watches: remove rings, bracelets and anything loose. Clay works into the smallest gaps and does not always come out.
Bring a water bottle, a small towel, and a bag or box for transporting work if the studio allows it. Leave the good handbag at home; dust gets everywhere.
How to Prepare Before You Arrive
There is not much homework, but a little preparation helps. Eat something beforehand — wheel work uses more of your shoulders and core than you would expect, and nobody throws well while hungry. Arrive ten minutes early so you are not rushing into a demonstration that has already started.
It also helps to arrive with an open mind about what you will make. Beginners often walk in with a specific plan — a tall vase, a matching set of four bowls — and feel disappointed when the clay has other ideas. Choose one small, achievable form. A cylinder that becomes a cup is a better first project than a pitcher with a handle.
Every potter you admire has made hundreds of pieces that collapsed, cracked, or went straight back into the reclaim bucket. The first session is not a test of talent. It is a test of whether you enjoy the process enough to come back.
The Expectation Gap, and Why It Is Normal
Somewhere in the first hour, most beginners hit a moment of frustration. The clay wobbles. The walls thicken at the bottom and thin at the top. The shape you had in mind becomes a small, sloping bowl. This is not a sign that you are doing it wrong; it is what learning a physical craft feels like.
Listen to the instructor's language. Words like centering, opening, pulling and wedging describe specific actions, and understanding them makes the demonstration far easier to follow. Ask for a second demonstration if you need one. Good teachers would much rather repeat themselves than watch you struggle in silence.
After the Class: Firing, Glazing and Collecting
Your work will not go home with you on the day, in most cases. Greenware — unfired clay — is fragile and needs to dry slowly before its first firing. Then it may be glazed and fired a second time. Expect a wait of a few weeks, and ask at the time of booking when you can collect.
While you wait, make a note of what you want to try next. Did you prefer the quiet concentration of coil building? Did the wheel frustrate you and also hook you? That instinct is worth following when you choose a second session or a longer course.
Before You Book: A Short Practical Checklist
Confirm the date, the start time and the studio address. Check whether you need to bring anything beyond old clothes. Ask about firing and collection if it is not stated clearly. Book directly with the studio where you can, and mention that it is your first time — instructors often place first-timers near the front of the demonstration or pair them with someone patient.
Then stop researching, put on clothes you do not love, and go. The worst outcome is a slightly lopsided bowl. The best is a hobby that keeps you curious for years.
Photo: wal_172619 / Pixabay